
Musterfreigabe für individuelle Aluminiumkoffer: 8 Prüfungen vor der Serienproduktion
Quick Answer: Approve Against Four References
Approve a custom aluminum case sample against four references: the approved drawing, the actual payload, a written list of deviations and the bulk acceptance criteria. Check fit and opening clearance with the real contents, confirm panels, hardware, foam, finish and branding, then measure dimensions and weight. A photo is not approval; the signed document controls the bulk order. If you cannot test with the real product, the review is incomplete. Record what you checked and who signed.
Most bulk-order disputes start with a vague approval, not a manufacturing fault. Both sides believe they agreed on “35 cm”, “black” or “same as sample”, and the first shipment reveals the difference.
The eight checks below apply to any custom aluminum case order. Run them in order: drawing first, payload second, cosmetics last. A case that looks right but does not fit the product is still a rejected sample.
Check 1: Match the Drawing to the Real Payload
For a custom aluminum case, the approved drawing is the reference for every later check. It should show external and internal dimensions, frame and panel thickness, lid and base depth, corner radius, insert layout, hardware positions, logo position and finish. Mark critical dimensions, state millimetres and give a tolerance for each.
Ask for internal dimensions, not only external ones. The SC-0001 custom aluminum case page lists external figures and materials but no internal dimensions, foam density or test report, so those points need separate written confirmation.
Review the sample with the product, accessories and packaging that will actually ship. A same-size block shows volume but not weight distribution, protrusions or pressure points. Weigh the loaded case too: the handle, hinge and latches carry the loaded weight, not the empty shell.
Check 2: Test Opening and Closing Clearance
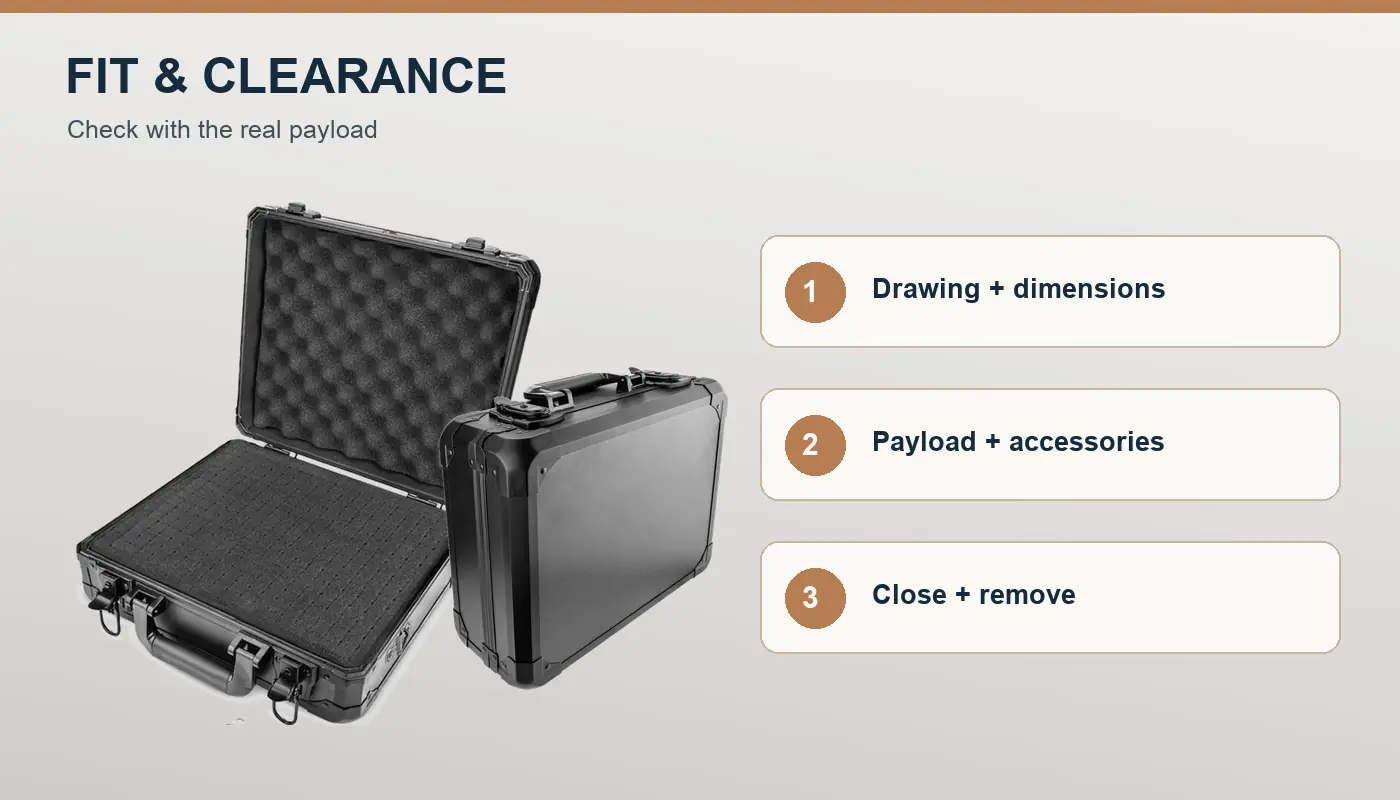
Custom case fit is a clearance question. The product must go in and out without forcing, and the lid must close without pressing on it. A custom aluminum case can pass a dimensional check and still fail here, because foam, lining and hinge geometry consume space the drawing does not show.
- Seat the payload in the insert with the case open. It should not press on connectors, screens or switches.
- Close the lid slowly and watch the seam. A lid that rocks or lifts means something is too tall.
- Remove the product the way the user will: one hand, perhaps with gloves, without unpacking the case.
- Check finger clearance at the edges and above the product.
- Repeat with chargers, cables, manuals and spare parts fitted.
Record the result in measurable terms. If the product needs a push, the cut is too tight. If it slides when the case is tipped, it is too loose.
Check 3: Verify Panels, Frame and Profiles
The SC-0001 page for this custom aluminum case lists aluminum, an ABS panel, MDF board, EVA or foam, fabric or PU lining, and hardware. Those are material categories, not a full construction specification. The sample shows which combination you are buying.
- Press gently on the lid and base to feel for flex.
- Check the frame profile: edge shape, joint quality and visible gaps.
- Inspect corner treatment and any bumpers.
- Look for lifting lining, open seams and rough cut edges.
- Compare the outer skin with the internal board.
Der guide to aluminum carrying case construction explains how these parts work together. Use it to frame questions, not to assume every case in the aluminum case category shares one build.
Check 4: Operate Every Latch, the Hinge and the Handle
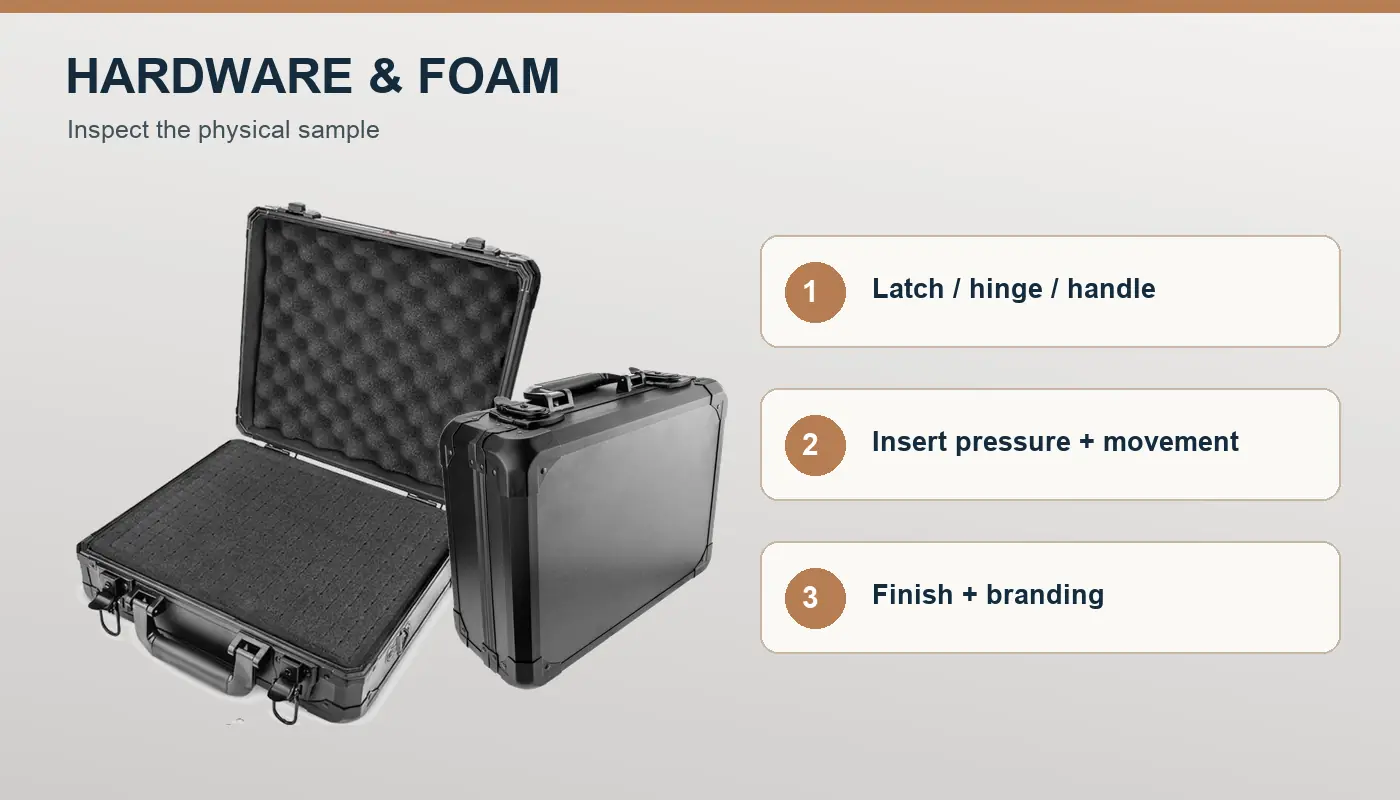
On a custom aluminum case, hardware is where bulk variation appears first. SC-0001 lists two locking latches and a rubber handle. Confirm the exact parts, not the category.
Open and close the case at least twenty times, then check:
- Both latches engage without force and release without a tool.
- Each latch meets its catch squarely; the lid does not lift or twist.
- The hinge holds the lid open without collapsing.
- The handle is centred, firmly fixed and comfortable when loaded.
- Keys, if supplied, work and arrive in the agreed quantity.
Record each part by photo and description. “Two latches” is not a specification; finish, size and keying are. If the quotation shows a different latch from the sample, resolve it before production.
Check 5: Confirm the Insert Holds the Product
The SC-0001 custom aluminum case uses pick-and-pluck foam. A custom order may use cut foam, a moulded insert or fabric-covered EVA. Confirm foam type, density, cut method, colour and whether the insert is glued in or removable.
Movement has four common causes:
- A cut that is too large lets the product slide and its corners take impacts.
- A cut that is too tight makes removal difficult and tears the foam.
- Foam that is too soft lets the product settle in transit.
- Foam that is too hard presses on screens and connectors; lid foam that is too thin leaves a gap.
Close the loaded case and shake it gently. Any movement you can hear will be worse on a pallet. The custom foam insert guide covers cutting options and how to compare them.
Check 6: Inspect Finish and Branding
Case finish inspection on a custom aluminum case is visual and tactile. Do it under warehouse lighting, not the lighting used for product photos.
SC-0001 lists four logo options: metal plate, printed, embossed and laser. Each has a different appearance, durability and cost. Choose one, then approve position, size and colour against a physical reference.
- Compare the sample with the approved colour chip, not a screen.
- Check the whole surface, including the base and the inside of the lid.
- Look for scratches, dents, bubbles, uneven coating, polishing marks and adhesive residue.
- Check logo alignment against the case edges and the latch line.
- Inspect marking edges for lifting.
Define acceptable and rejectable defects with photos. “Black” and “no scratches” are not standards; a colour chip and a defect photo set are. For retail programmes, approve the artwork revision as well as the printed result.
Check 7: Measure Dimensions and Weight
Measure the custom aluminum case yourself: external and internal length, width and depth, lid and base depth, empty weight and loaded weight. Use the supplier’s method and state it in the approval.
This is also where page conflicts must be resolved. The SC-0001 page shows 35 × 27 × 13 cm in its header and “40 × 35 × 12 cm or customize” in its description. Those two sets describe different cases. Get the correct size, unit and internal dimensions in writing before approving anything, and quote that figure in the purchase order.
| Measurement | Warum es wichtig ist |
|---|---|
| External L × W × D | shipping volume, carton count and shelf fit |
| Internal L × W × D | whether the payload fits |
| Lid and base depth | clearance above the product |
| Empty weight | freight cost and user expectation |
| Loaded weight | load on handle, hinge and latches |
Also check that the case sits flat, corners are square and the lid meets the base evenly. A millimetre at one corner can become a visible gap or a stiff latch.
Check 8: Write Down Deviations, Sign-Off and Acceptance Criteria
A custom aluminum case sample is never perfect. Each difference must be accepted, corrected or treated as grounds for rejection.
“Same as sample” needs a definition covering materials and construction, dimensions with tolerances, hardware part numbers or photos, foam type and cut, colour reference, logo method and packaging. Bulk acceptance then defines which characteristics are critical, which are cosmetic, how many units are inspected, what defect level triggers rework and who signs.
Do not accept “we check every piece”. Ask for a written sampling plan and defect classification; if you use an AQL approach, agree the level and defect definitions before production. The OEM/ODM process treats sample approval as a formal stage, and the purchase order should carry the same definitions into bulk.
The approval record should include the sample ID and date, drawing revision, photos of the packed case, measured dimensions, the payload used, accepted deviations, required corrections, and both signatures.

Sign Off Only When the Paperwork Matches the Sample
Work through the checks in order. Confirm the drawing, load the real product, test clearance, inspect construction, operate the hardware, check the insert, review finish and measure the case. Then write down every deviation and the acceptance criteria.
If the case needs rebuilding, ask for a corrected sample rather than a promise. If the revision changes size or insert, compare the available custom case formats first. When ready for production, send the approved drawing, payload list and acceptance criteria through the contact page so the quotation and purchase order refer to the same documents.
Häufig gestellte Fragen
How Long Does a Custom Aluminum Case Sample Take?
The SC-0001 page lists a 7-day sample time, 15–25 day delivery and an MOQ of 100 pcs. Treat these as figures for that SKU, not a universal promise; custom foam, branding, hardware or a new size can change both sample and production timing.
Can I Approve Without the Actual Product?
Not if fit matters. A same-size block shows volume but not weight distribution, protrusions or removal clearance. If shipping the product is impractical, use a dimensionally accurate mock-up and approve fit again on the first production unit.
How Do I Approve a Finish I Cannot See in Person?
Ask for a physical colour chip, a logo sample on the same material and photos under neutral light. Approve the chip and a retained sample, not the photo alone.
Does a Good Sample Guarantee Bulk Consistency?
No. A custom aluminum case sample shows what the supplier can produce, not what every unit will be. Consistency depends on the acceptance criteria, sampling plan and process control.
Is the SC-0001 Case Waterproof?
Der product page calls this custom aluminum case water resistant but publishes no ingress rating or test report. Do not treat that as waterproof. If water exposure matters, state the requirement and ask for the test method and result in writing.
What If the Sample Fails?
List each failure against the drawing, photograph it, and request a corrected sample or a written deviation with cost and schedule impact. Send the list through the contact page so the exchange stays in one thread. Do not approve “we will fix it in production”; a correction that is not visible on the sample has not been approved.