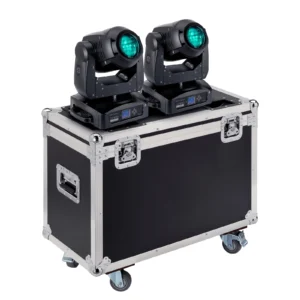
How to Build a Flight Case
Building a flight case includes selecting materials, measuring and cutting the parts, assembling the case, and adding foam pads for protection.
By following exact measurements and using quality materials, you can ensure that your flight case can provide optimal security and damage-free equipment.
So, read on and explore this short guide as we will cover the manufacturing process of flight cases.
What’s great is that we also included how you can create your DIY flight case at home.
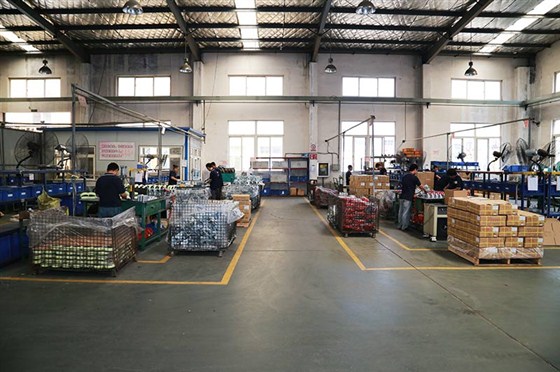
How to Make a Flight Case: A Manufacturing Perspective
Step 1: Selecting the Right Materials

Manufacturers often use the following flight case materials:
- Birch, oak, or maple plywood (typically 9 mm or 12 mm thick)
- Aluminum extrusions and edges
- Rivets and screws
- Foam pads/inserts
- Latches, locks, handles, and hinges
Step 2: Cutting the Flight Case Parts

Properly measure your equipment to assess the internal dimensions of the flight case. Be sure to add an extra space for the foam padding.
Then, cut the plywood panels for the sides, top, bottom, and lid using a table saw or a CNC (computer numerical control) machine.
Example:
For a flight case with internal dimensions of 30” x 20” x 10” (LWH):
- Cut 2 side panels at 30 x 10 inches.
- Cut 2 end panels at 20 x 10 inches.
- Cut 1 top panel at 30 x 20 inches.
- Cut 1 bottom panel at 30 x 20 inches.
Step 3: Assembling the Flight Case

Attach the aluminum extrusions to the corners of each plywood panel using rivets.
Next, assemble the sides and the ends of the flight case to secure the corner braces and rivets.
Attach the top and bottom plywood panels to complete the box-like structure.
Lastly, fit the lid by attaching it to the top panel using hinges.
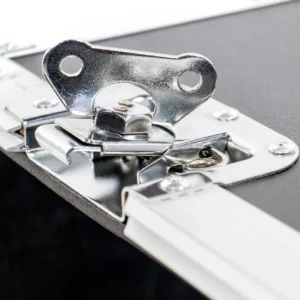
Step 4: Add the Latches and Other Hardware

Materials needed:
- Latches – used for securing the lid.
- Handles – installed for easy and convenient carrying.
- Protective corners – installed for added durability.
- Wheels – used for mobility.
First, position the latches and handles at the appropriate locations. Secure them with screws or rivets.
Next, attach the protective corners to all external external edges of the flight case.
Lastly, install the wheels at the bottom of the flight case using screws to secure it.
You will need at least 4 wheels to balance the flight case while moving it.
Step 5: Inserting Foam Pads for Added Protection
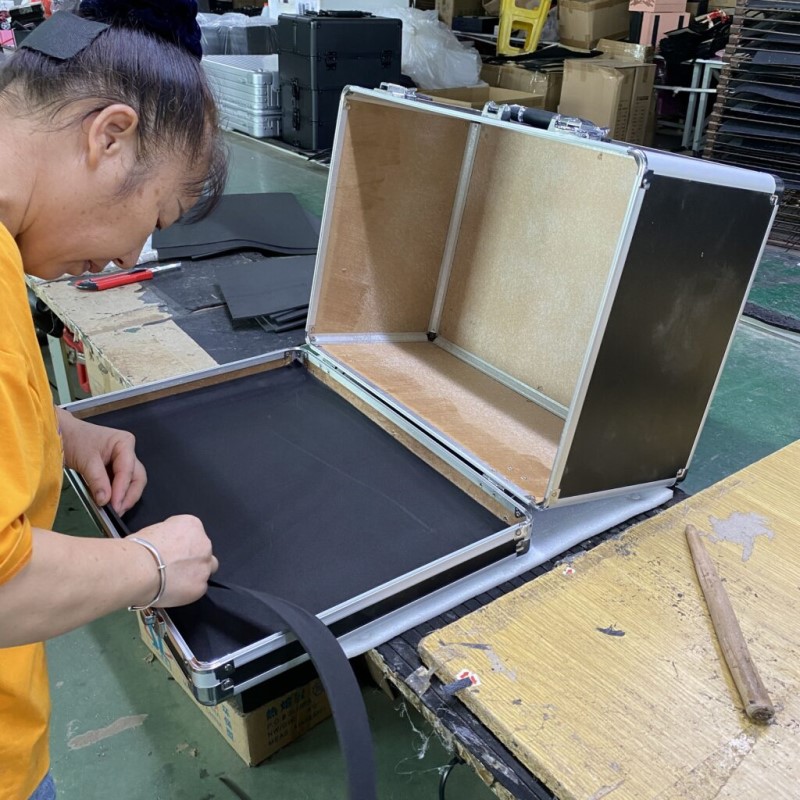
First, measure the internal dimensions of the flight case and cut the foam pads for the best fit.
Be sure to choose high-quality foam pads for flight cases for optimal protection of the equipment to be transported.
How to Create Your DIY Flight Case
Tip: To build your own flight case, accurate measurements are the key. Be sure to properly measure your equipment first.
Firstly, plan your design.
Determine the size and shape of the equipment you want to put in the flight case by sketching the dimensions and layout.
Next, gather your materials. This can be the following:
- Plywood
- Some aluminum extrusions
- Foam pads
- Locks
- Handles
- Wheels
Once all materials are prepared and measurements are prepared, cut the plywood panels based on the equipment’s dimensions.
Use a saw for straight cuts and a jigsaw for complicated shapes. Be sure to ask for assistance if this is difficult for you.
Next, assemble the components of the flight case by attaching the aluminum extrusions to the corners of the plywood panels.
Use corner braces to connect the panels and secure them with rivets.
Attach the top and bottom plywood panels to form a box-like structure.
Then, secure the lid with hinges to tighten the closure.
Lastly, install the locks and latches. Add some foam pads in the interiors for added cushion.
Article Sources
The Suncase uses only high-quality sources, including peer-reviewed studies, to support the facts within our articles. Our commitment to accuracy and reliability ensures that readers receive well-researched information they can trust.